How to Design a Restaurant Menu That Sells
Your menu is your hardest-working salesperson. Small design and layout changes can quietly lift average spend on every table.
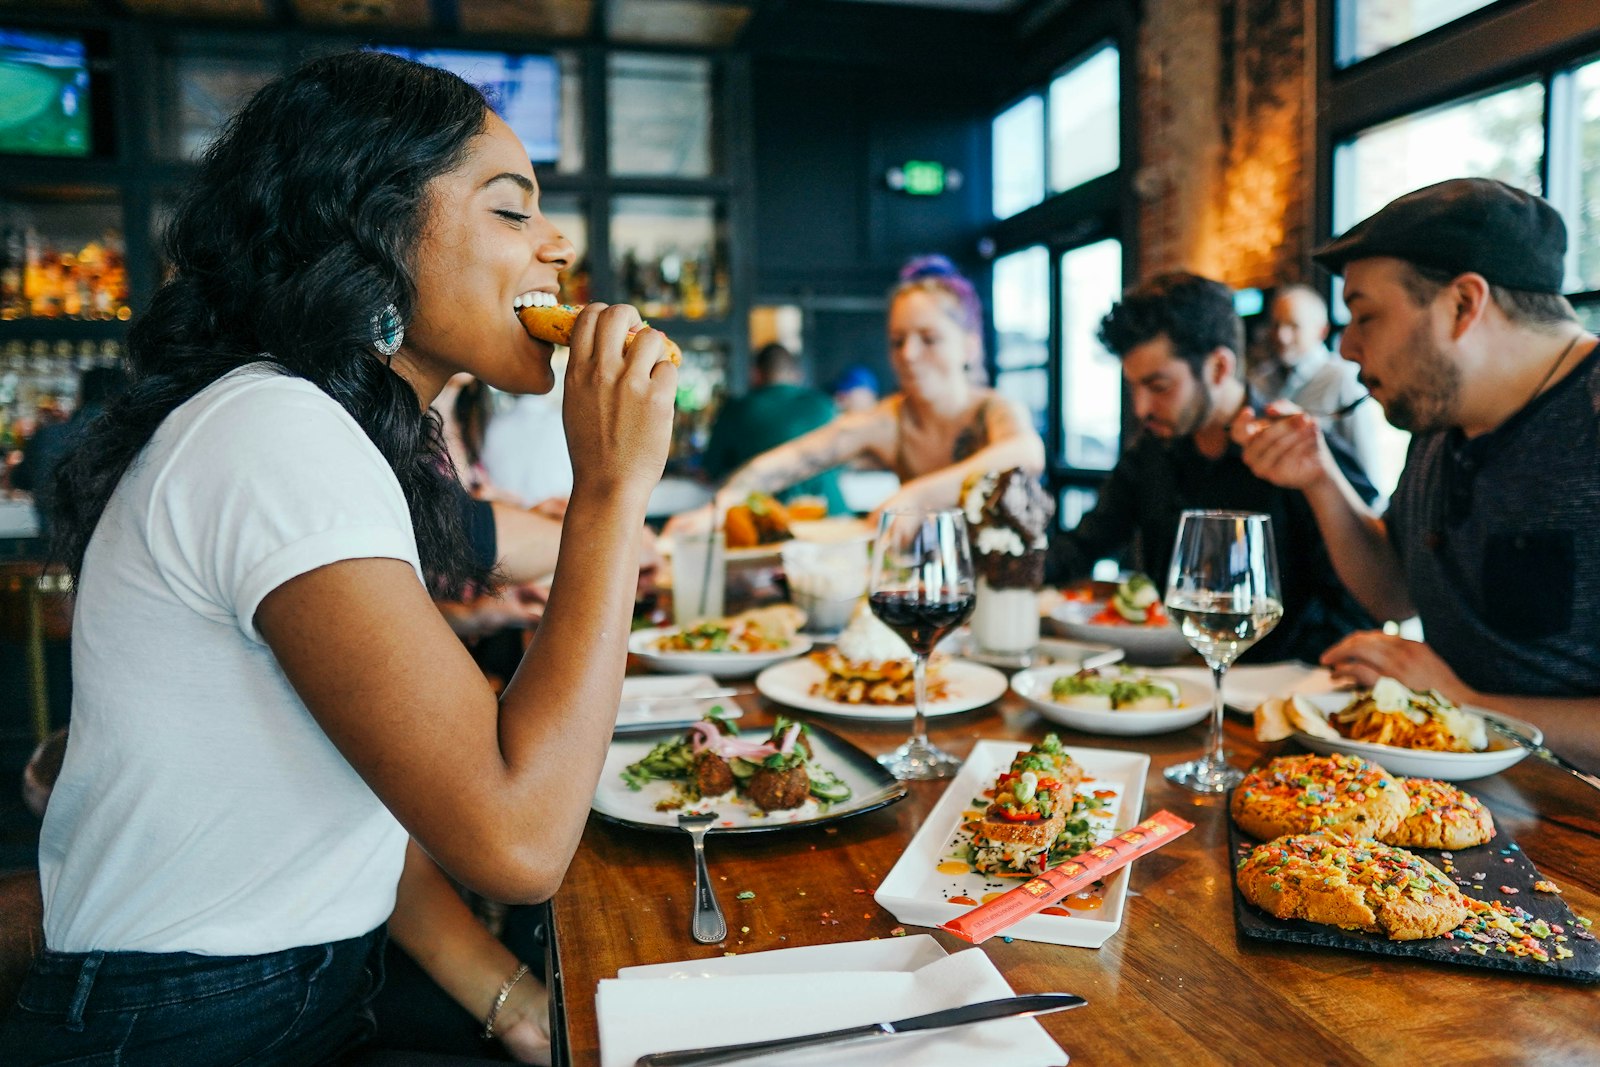
Your menu is the most-read piece of marketing in your restaurant — every single guest studies it, usually for two to three minutes, at the exact moment they're deciding how much to spend. Yet most menus are designed as a list of dishes rather than a tool to guide choices and grow profit. A well-engineered menu can lift average spend on every table without raising a single price. This in-depth guide shows you how, with a worked example and the data behind each technique.
The mindset shift: your menu is a sales tool
Stop thinking of your menu as a catalogue and start thinking of it as a silent salesperson. Its job is to gently steer guests towards the dishes you most want to sell (your high-margin "stars") and to nudge the total bill upward through smart structure, descriptions and design. Done well, it's invisible — guests feel they chose freely, while you've quietly improved both profit and their experience.
Step 1: Know your numbers (menu engineering)
Before you touch the design, understand which dishes actually make you money. Plot every item on two axes — popularity and profitability — and you get four groups:
| Quadrant | Popularity | Profit | What to do |
|---|---|---|---|
| Stars | High | High | Feature prominently; protect quality |
| Plough-horses | High | Low | Tweak recipe/portion/price; pair with high-margin sides |
| Puzzles | Low | High | Reposition, rename, describe better |
| Dogs | Low | Low | Remove them |
This single exercise — done honestly with your actual sales and cost data — is the foundation everything else builds on. (For the deeper version, see menu engineering: increase average spend without raising prices.)
Step 2: Guide the eye to your best earners
People don't read menus top to bottom — their eyes move in predictable patterns and land on certain "hot spots" (often the top-right of a page and the top of each section). Place your stars in those spots.
- Use a box, subtle highlight, or icon to draw attention to two or three signature dishes per section — but don't over-highlight, or nothing stands out.
- Keep each section to a manageable number of options (roughly 5–7). Too many choices cause decision paralysis, and overwhelmed guests default to the familiar, cheaper option.
- Put a deliberately premium "anchor" dish near the top. Even if few order it, it makes everything below look like better value.
Step 3: Price for profit and psychology
How you present prices changes how much people spend:
- Drop the currency symbols ("14" not "A$14.00"). Studies consistently show the currency sign triggers the "pain of paying" and dampens spend.
- Don't right-align prices in a neat column. A tidy price column invites guests to scan down it and pick the cheapest. Place the price discreetly at the end of each description.
- Avoid .99 pricing in nicer venues — it signals "cheap." Round, confident prices feel more premium.
- Use a decoy. A high-priced item makes the options just below it look reasonable, nudging guests toward your profitable mid-range dishes.
Step 4: Write descriptions that sell
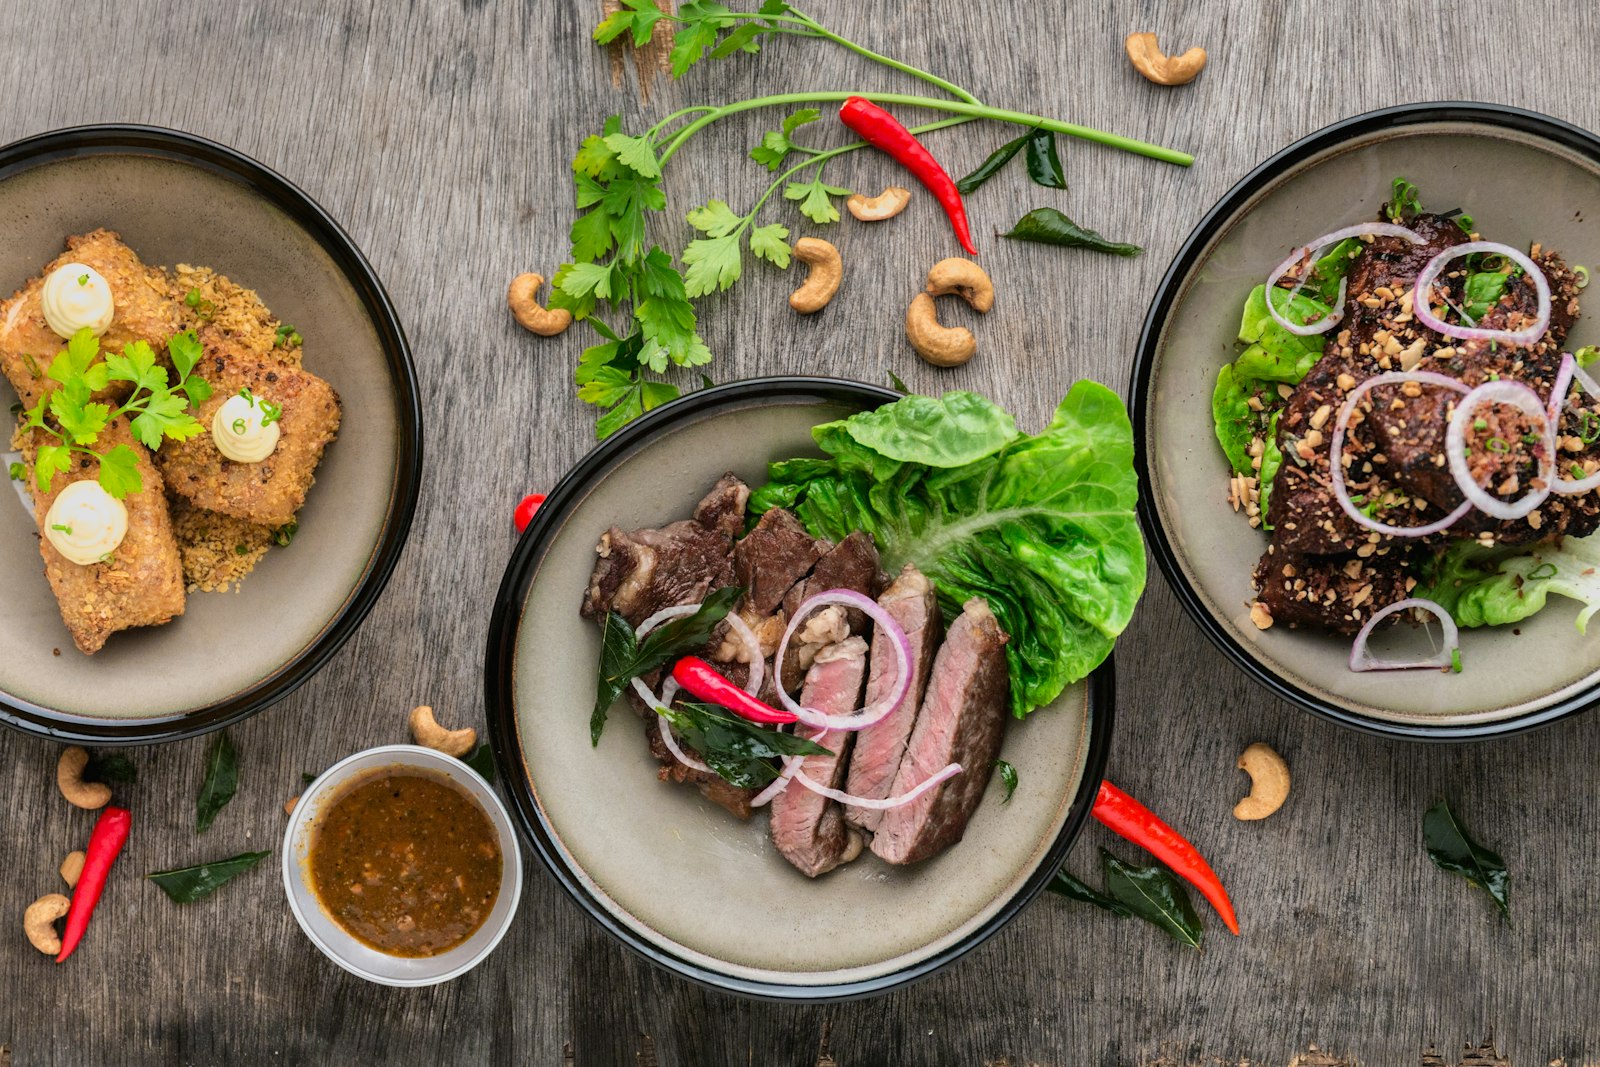
Evocative, specific descriptions measurably increase both perceived value and the number of orders. Compare "Beef stew" with "Slow-braised, 12-hour shin of beef, root vegetables, red-wine jus." The second sounds worth more — and is.
- Mention provenance ("Yorkshire rhubarb," "line-caught cod") and preparation ("char-grilled," "house-cured," "wood-fired").
- Use sensory language that makes people imagine eating it.
- Keep it honest and concise — a paragraph per dish is too much.
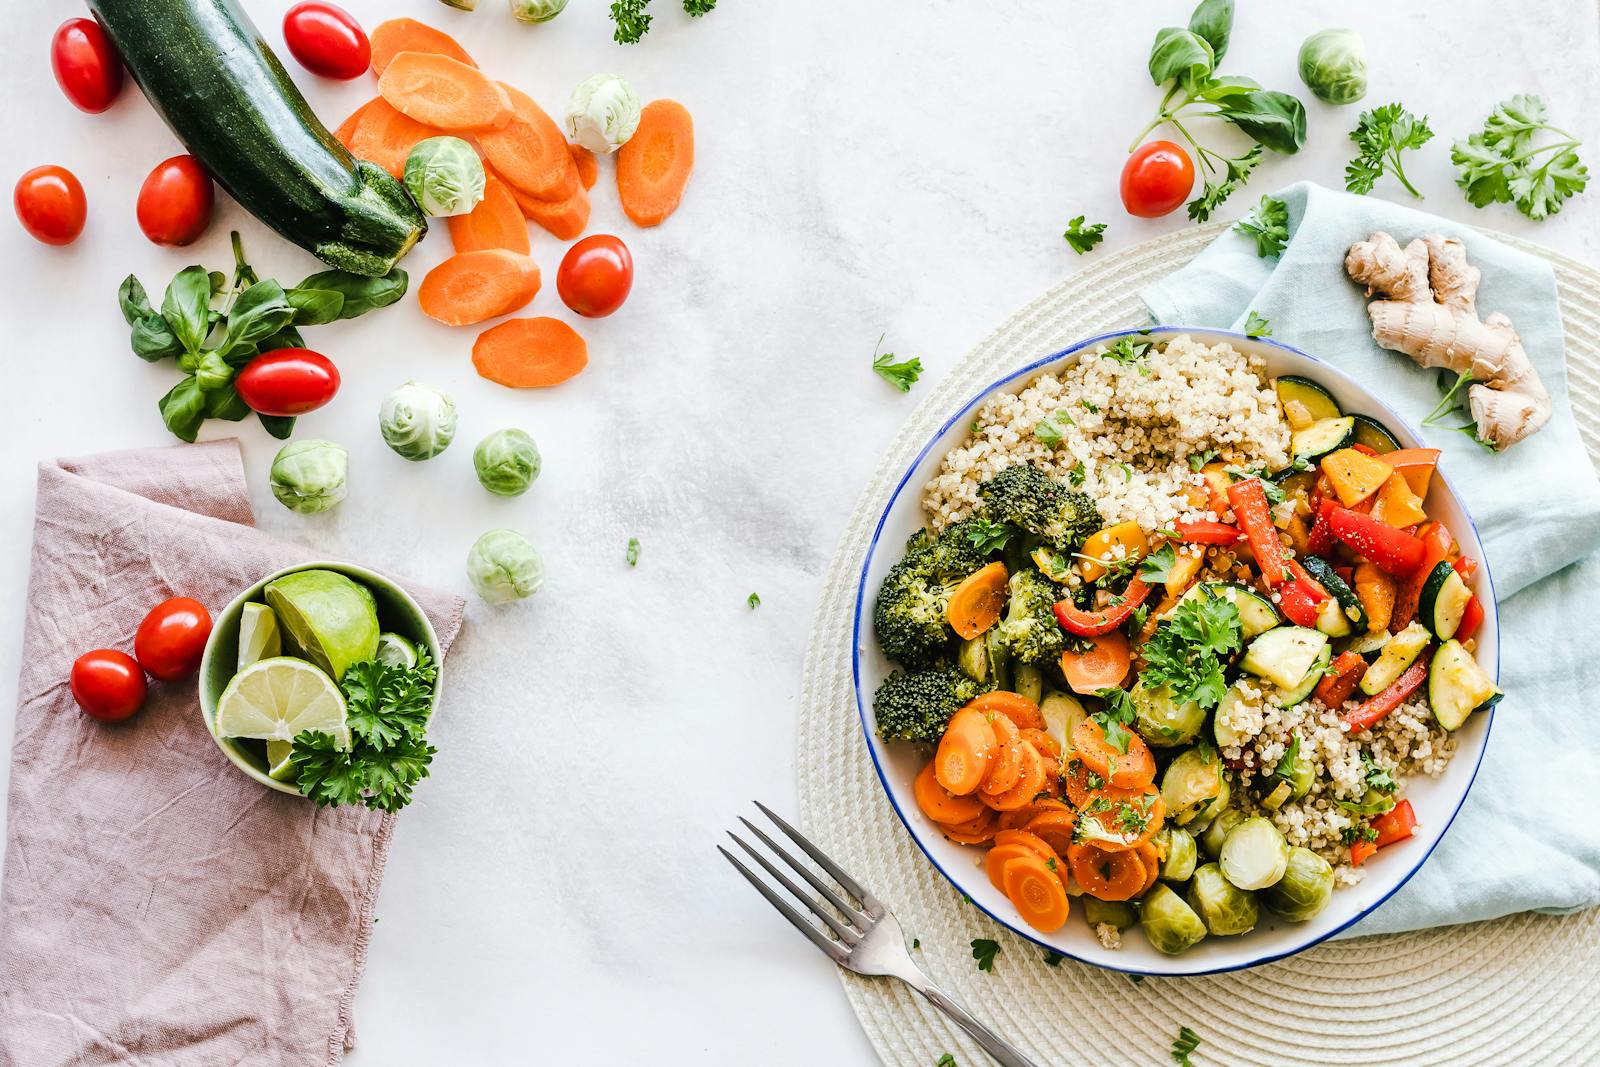
Step 5: Design for desserts, sides and drinks
These are usually your highest-margin items and the most often skipped. Give desserts their own clear, appetising section (and prompt them — "save room for dessert?"). Make sides and add-ons easy ("make it a meal," "add halloumi"). Suggest drink and wine pairings next to mains.
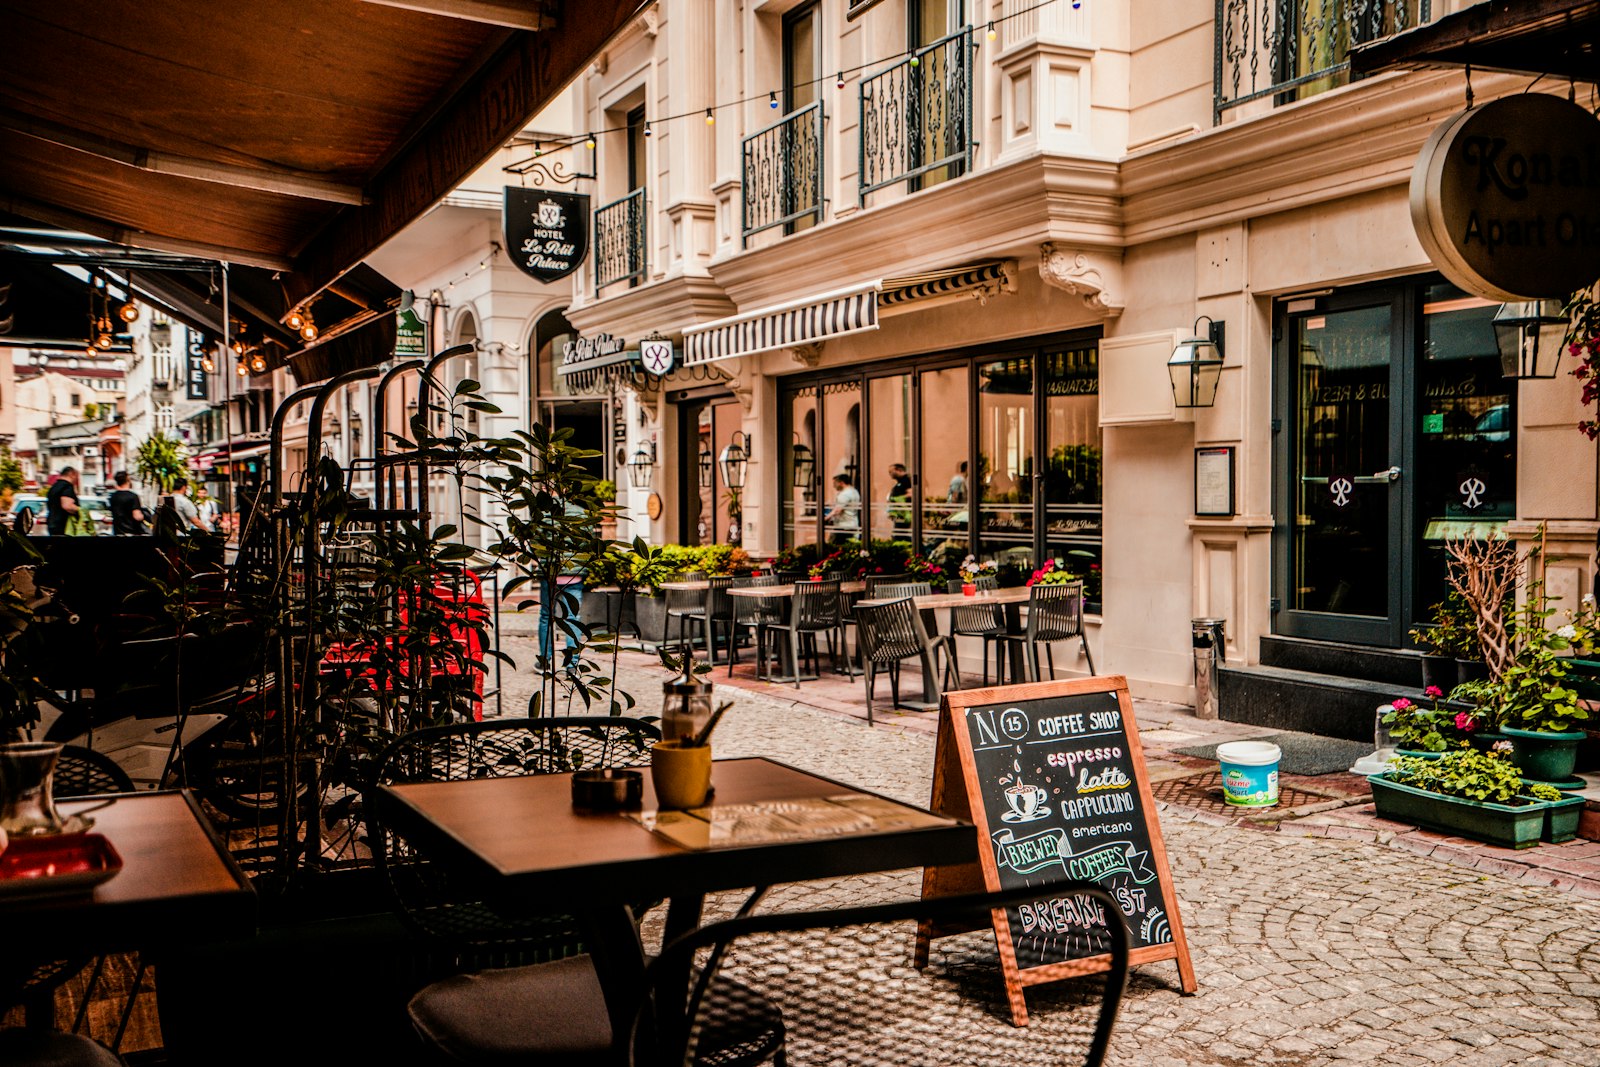
Step 6: Keep it on-brand and readable
A beautiful menu that's hard to read fails, and a tired, clip-art menu undermines even brilliant food. Use clear, legible typography at a sensible size, and match the design to your brand — the design itself signals quality and justifies your prices.
Worked example: a gastropub that lifted spend A$6 a head
A gastropub doing ~A$32 average spend re-engineered its menu without raising a single price:
- Cut 4 "dog" dishes, tightening each section to 6 options — orders concentrated on higher-margin stars, and kitchen waste fell.
- Moved two high-margin mains to the top of the section and boxed one as the "chef's signature."
- Removed the right-hand price column and tucked prices into the descriptions.
- Added a A$29 sharing chateaubriand as an anchor — few ordered it, but the A$18–A$22 mains below suddenly looked great value, and their share of orders rose.
- Gave desserts their own boxed section and trained the team to prompt them.
Result: average spend rose from ~A$32 to ~A$38 a head — a A$6 lift on every cover — with no price increase. Across 1,500 covers a week, that's roughly A$9,000 a week of extra revenue, almost all margin. The redesign paid for itself within days.
Common menu mistakes
- Too many dishes (slows decisions, raises waste and complexity).
- Burying your most profitable dishes in the middle of a long list.
- A neat right-hand price column that encourages price-scanning.
- Weak, generic descriptions.
- Treating desserts and drinks as afterthoughts.
- A design that doesn't match the quality of the food.
Your menu redesign checklist
- Pull your sales and cost data; plot stars, plough-horses, puzzles and dogs.
- Cut the dogs; reposition the puzzles.
- Place stars in the eye's hot spots; add an anchor.
- Remove currency signs and the price column.
- Rewrite descriptions to be specific and sensory.
- Give desserts, sides and drinks their due.
- Make it clean, readable and on-brand.
- Track results and refine.
How long until you see results?
Because the menu is in front of every guest, well-executed changes can lift average spend immediately — many venues see a measurable per-head increase within the first few weeks. Menu engineering routinely pays for itself many times over.
If you'd like ours to design and engineer your menu — with the data work done for you — see Brand & Menu Design.